Installing firmware on a TP-Link access point
Aug 5, 2015
This doc is outdated. Please view our new documents here:
docs.ct-networks.io
To set up a TP-Link box, here’s what you’ll need:
- A computer with ethernet ports
- A TP-Link access point and power supply
- 1 x Ethernet cable
- A download of the PolkaSpots firmware
Plug in your power supply and connect it to your TP-Link, then press the power switch on the box, which will turn the box on.
Next, connect one end of the Ethernet cable to the LAN port of your TP-Link, and the other end of it to a LAN port on your computer.
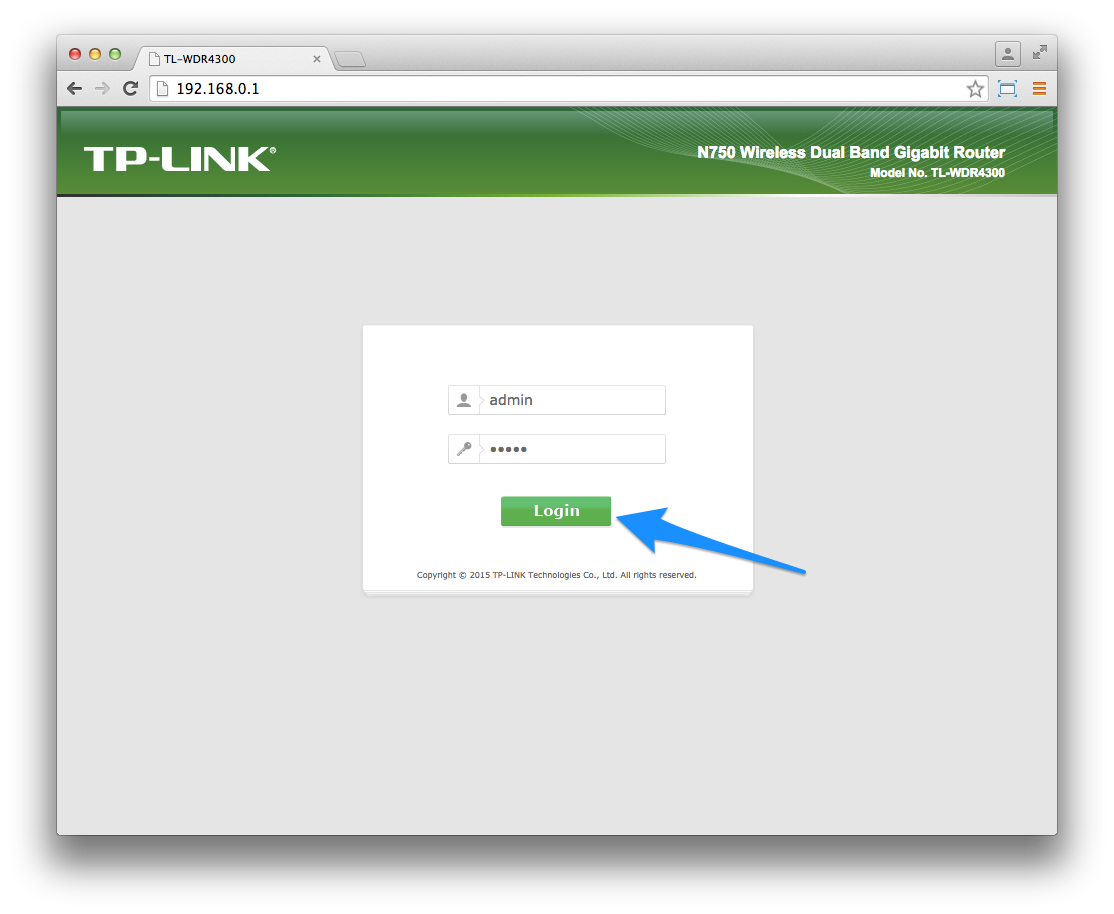
Open up your web browser and navigate to 192.168.0.1 to open the Local Portal of the TP-Link box.
Log into your portal using your username and password (default admin - admin)
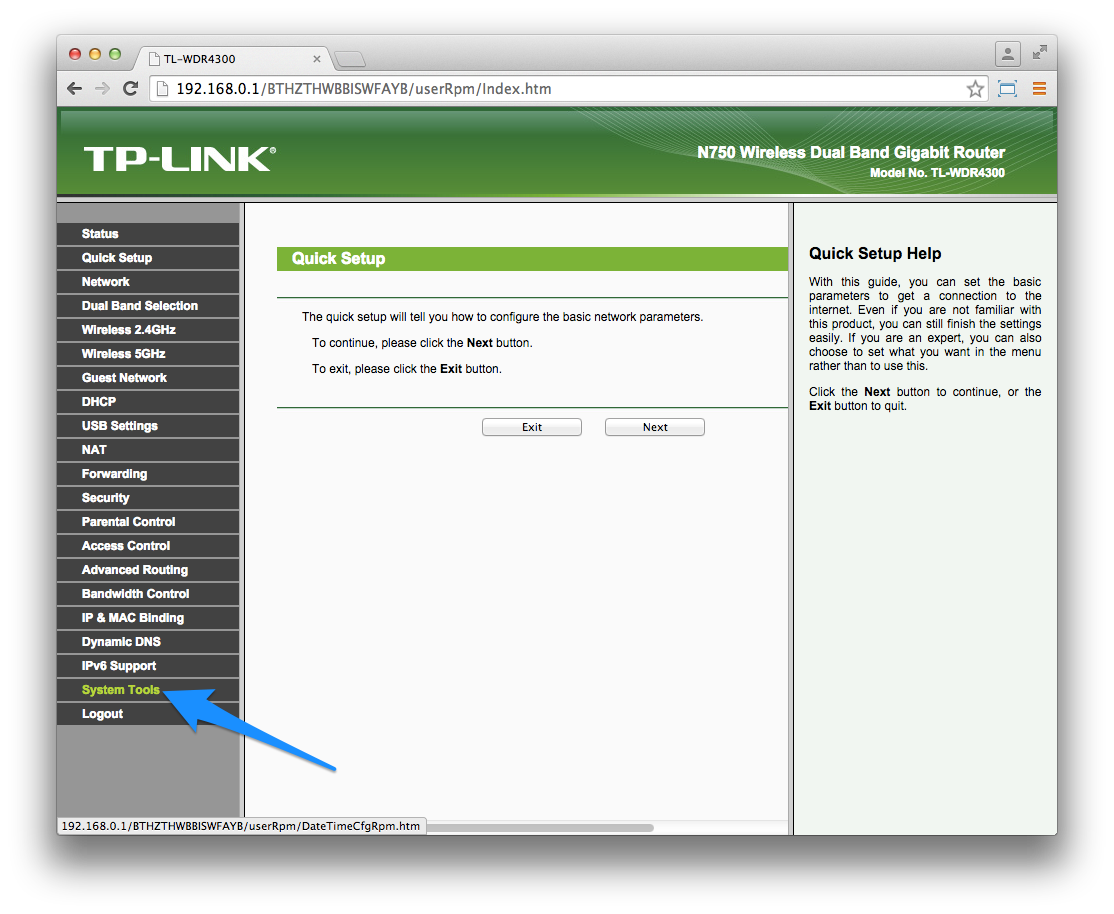
Click on System tools on the left hand sidebar to expand the options
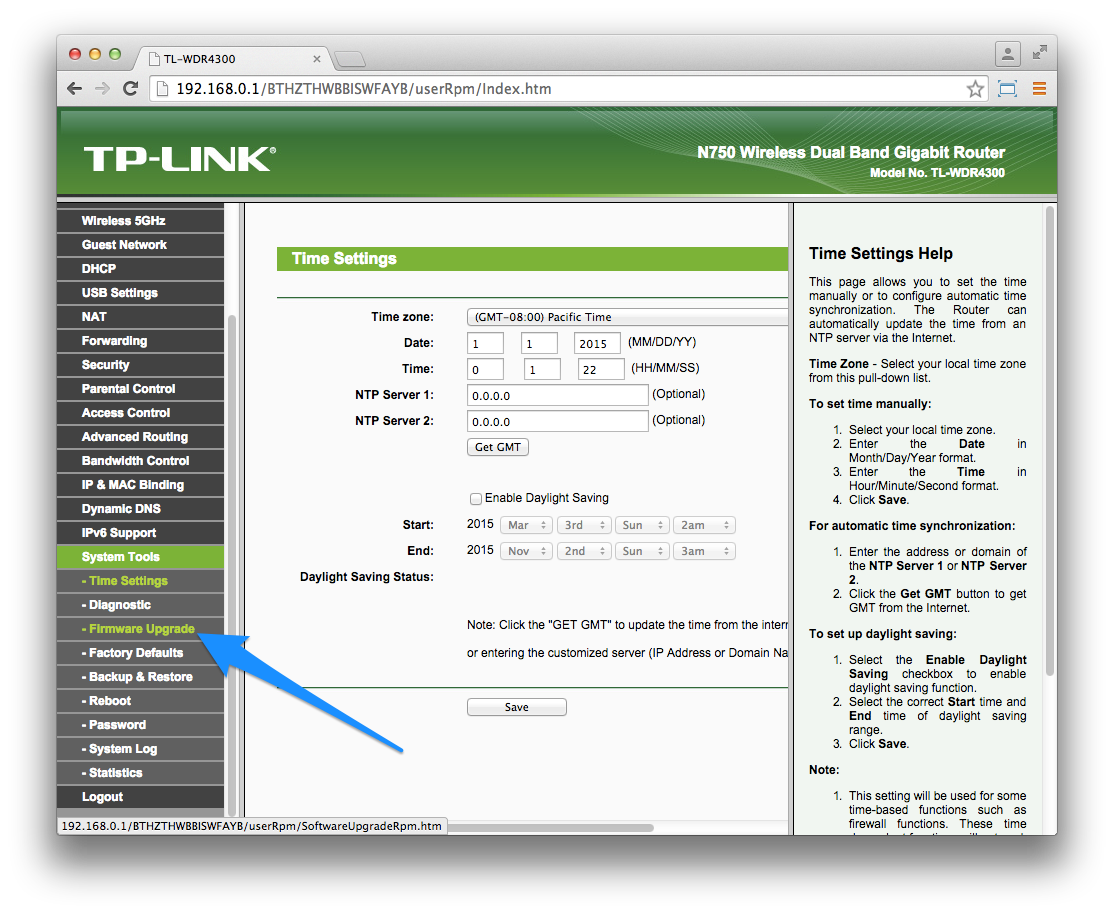
Click on Firmware Upgrade so you can upload the PolkaSpots firmware to your box
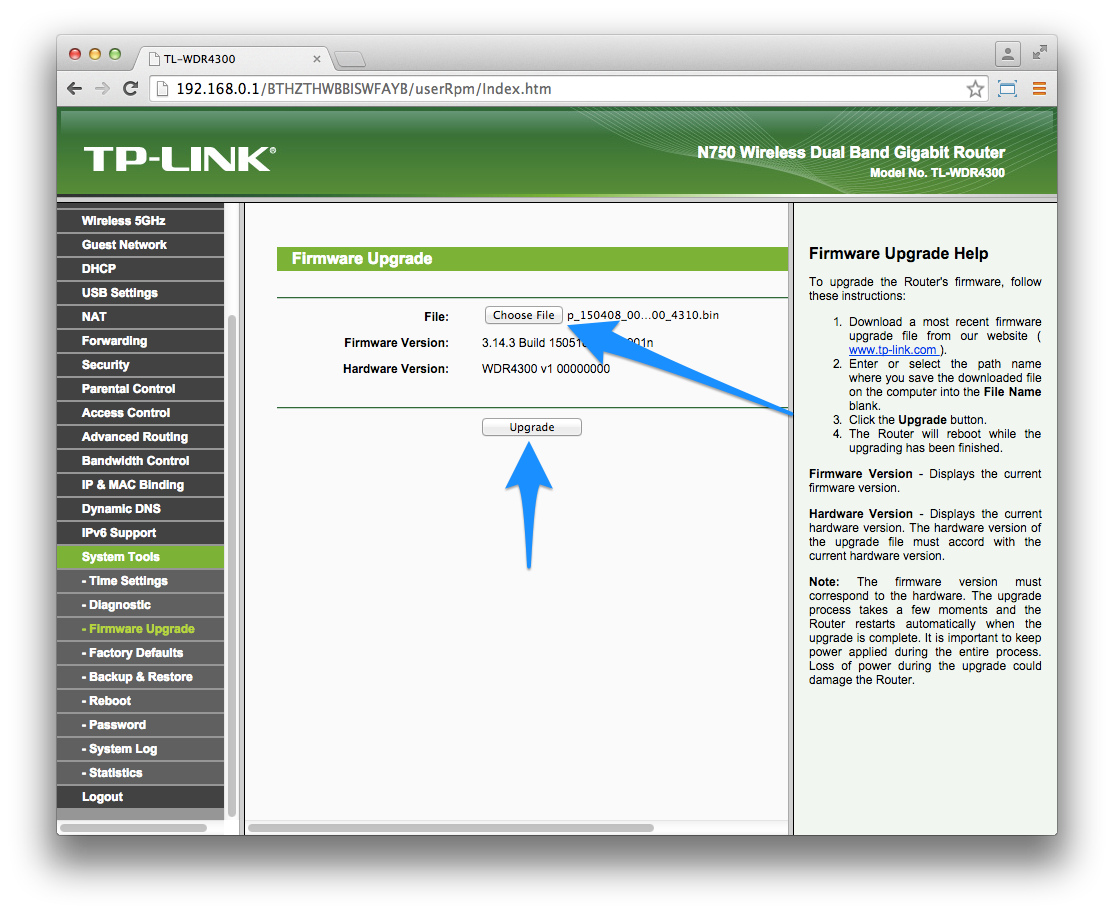
Click on Choose File and select the firmware you downloaded in preparation, then click on Upgrade.
The firmware install process will start, wait for this process to complete
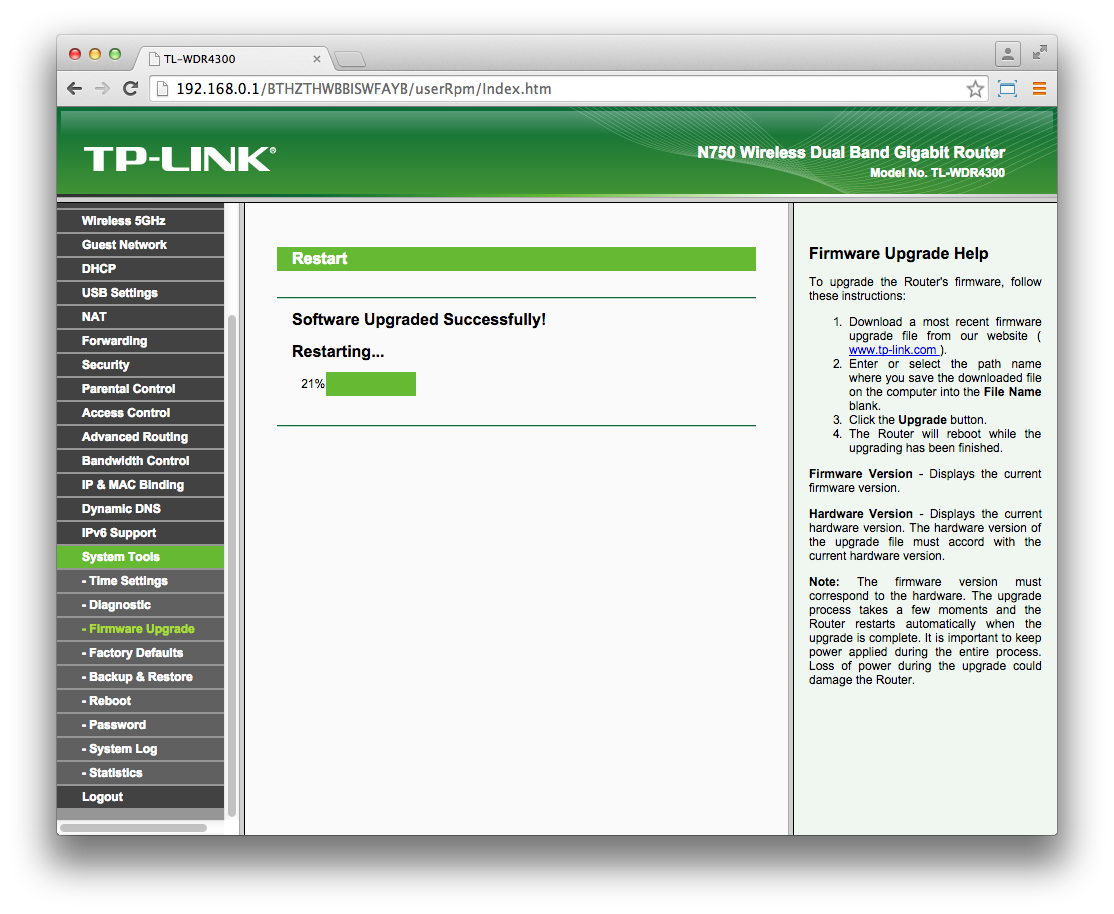
Once completed, your box will start restarting, please wait for this to complete
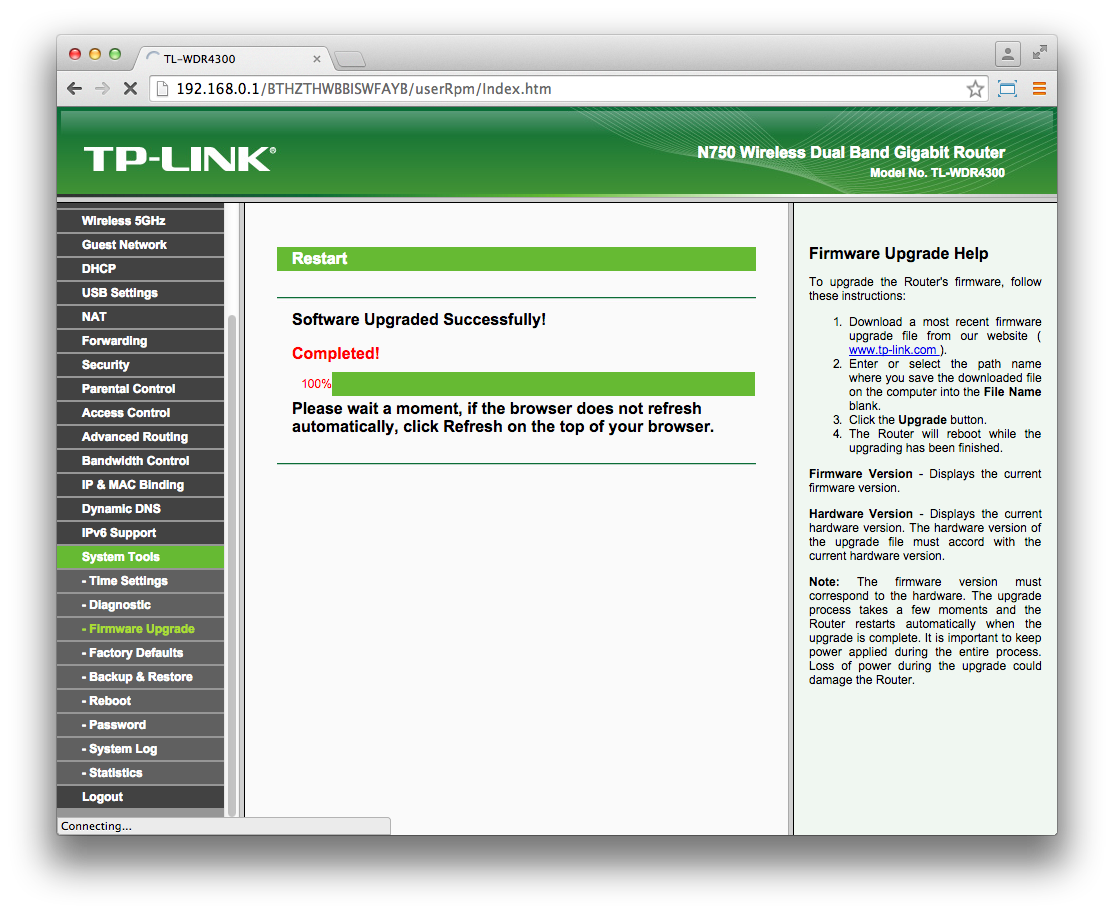
Once you reach this, your box should soon start broadcasting a New PolkaSpots SSID.
The browser will not refresh as it no longer has the TP-Link portal installed on it, so simply close off the page.
